Markings In My Journal

Visit my other site, Markings In My Journal, for more inspiration.
Showing posts with label Casserole Carrier. Show all posts

Thursday, May 19, 2011

Casserole Carrier Tutorial...

I've FINALLY got it written out! So, here we go...

*When I made mine, I was going off of a couple of patterns and added my own ideas. I really like the way it turned out... but I've only made the one - and I did notice a few things I would do different - which I have written in...so you get the easier version! (The one pattern was on the Moda Bake Shop site...it was very vague and hard to follow so I hope this one is easier, but it did give me sizes guides to start with. The other one was found from a google search and the only thing from that one I used was the idea of a dowel rod for handles.)

Materials:
    14 jelly roll strips (2 1/2" x 45")
    2 pieces of plain material 8" x 48" (I used flannel)
    1 piece of plain material 8" x 15"
    Batting (or felt by the yard...this is what I used and I think it makes it sturdier)
              2 pieces 8" x 48"
              2 pieces 14" x 36"
    Material for binding
    Scraps from plain material and jelly roll strips for handles
    5" piece of hook and loop tape
    3/4" diameter dowel rod

Section 1:
(1) Cut jelly roll strips to a 36" length (keep the scraps for the handles) and sew 7 of them together for the inside and sew together the other 7 for the outside.

(2) Take your 2 'tops' and make a quilt sandwich...
      - lay inside right side face down
      - layer with the 2 pieces of 14" x 36" batting/felt
      - top with outside, right side facing up
   Baste.

(3) Quilt. (I did 1/4" echoing on both sides of each of the ditches...using the outside as my quilt top...because if the inside stitching was a little off, it will not be seen as much as the out side :)
    Square to 13" x 34"

(4) Bind...now set this section aside while you make the cross-section.

Section 2:
(5) Take one piece of the plain material (8" x 48") and place right side facing down.

(6) place 2 pieces of batting/felt (8" x 48") on plain material, then top with the other piece of 8" x 48" plain material, right side facing up.

(7) Baste sandwich.

(8) Quilt.

(9) Take the piece of 8" x 15" plain material and hem in 1" each side on the 8" sides to make a piece of material 13" from hem to hem x 8" from raw edge to raw edge.

(10) Center this piece on the long plain quilt... the hem with go across the quilt and the raw edges will line up with the raw edges of the quilt sandwich. Pin this in place.
*This is a pocket for a hot/cold pack. I hope to make one soon and show a tutorial for that also.

(11) Bind this quilt sandwich.

Section 3:
Now lets put them together...
(12) Center the plain quilt (with pocket up) cross way on the inside of the pieced quilt section. Pin and sew them together along the 13" sides (so, across the pieced quilt and 'with' the plain quilt.

* Be careful...there is ALOT of layers here! I broke a needle during this part, so a heavier needle should probably be used. I also broke a couple of needles when adding the handles...so keep the heavier needle handy for that part as well.

(13) Now, place the hook and loop tape on the flaps (plain material).
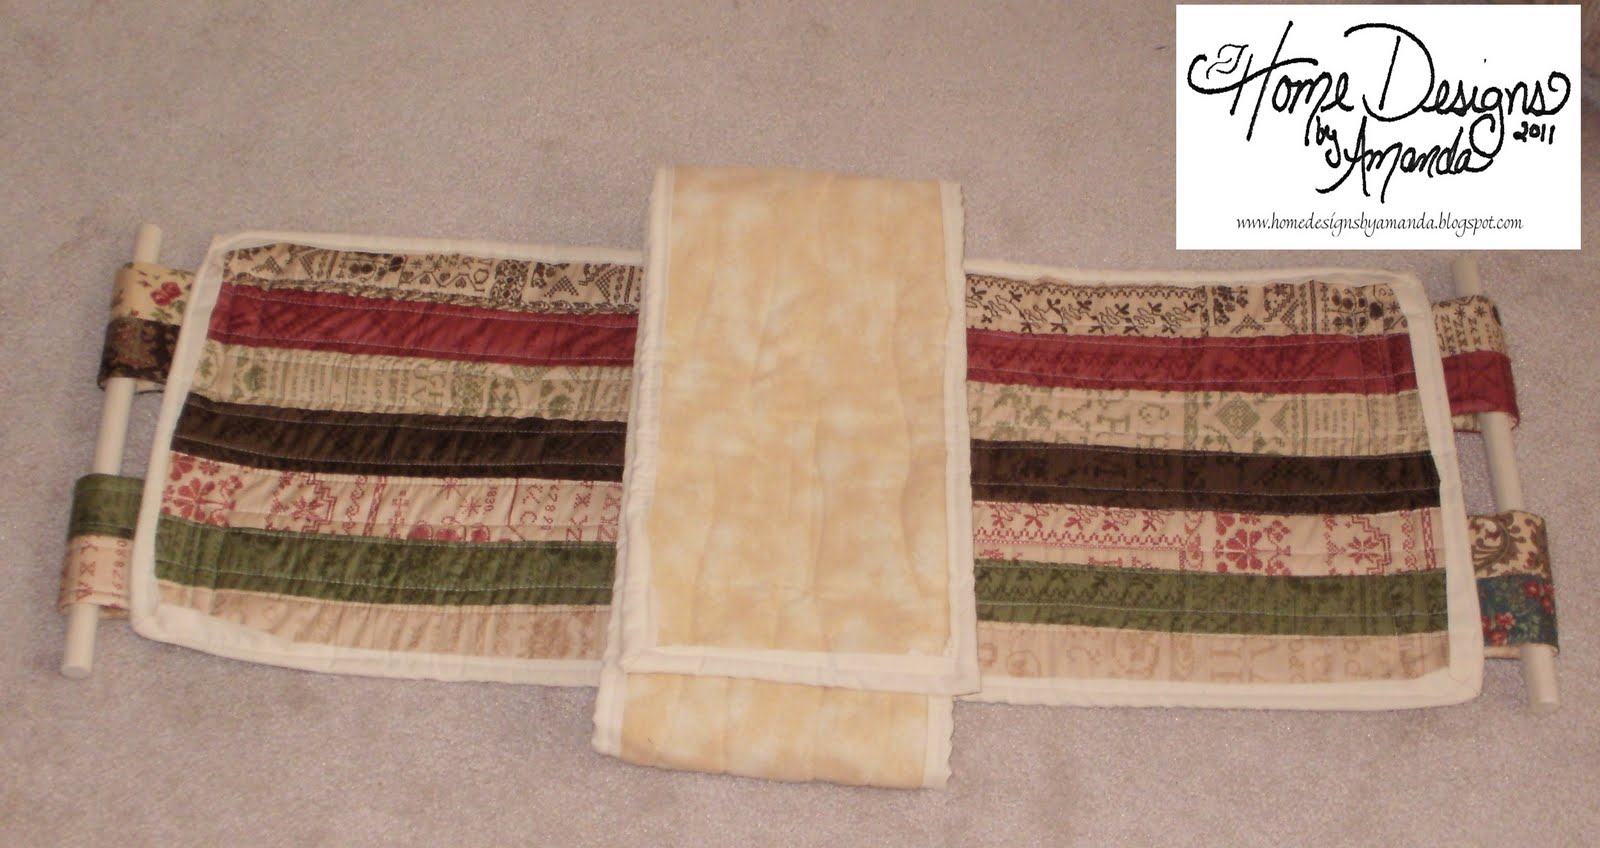
       I'll try to explain my placement...but the picture may show it better...

Take half of your hook and loop tape and center it on the inside of the plain material about 2 1/4" from the 8" edge. Take the other half of the 'tape' and center it on the outside about 6" from the 8" edge.

Section 4:
Making and adding the handles.
(14) You will need 8 jelly roll scraps (2 1/2" x 8") and 4 pieces of plain material (4 1/2" x 8"), 4 pieces of batting 4 1/2" x 8" and some binding.

(15) Sew together 2 piece of the jelly roll per each handle...

(16) Take these and make four sandwiches...however these ones are different!
         - lay your jelly roll face up
         - lay your plain material face down on jelly roll
         - top with batting/felt
     pin together and sew along the 8" length of the sandwiches (leave the ends open!)

(17) Turn right side out. Quilt as wanted...

(18) Loop each of the four handles and do the first step of binding around the bottom, then turn the binding down.

(19) Pin the handles to the outside of the pieced quilt about 2 inches from the top and sew.

(20) Cut your dowel rod into two pieces about 13 1/2" long each and slide through handles. (I have yet to do this,...and I want to...but you may want to pin the handles close to the dowel rods, then remove the rods and sew to make a tighter fit around the rods.)

There is your completed Casserole Carrier.


This carrier fits a 13"x 9" baking pan, an oblong 3 quart Crock Pot, and a 11" x 7" baking pan.
Have fun taking you dishes in style to your summer picnics!

Provideth her meat in the summer,
and gathereth her food in the harvest.
Proverbs 6:8

Have a great day...go sew...!
Amanda

Sunday, April 24, 2011

That Cassarole Carrier...

Took ALL DAY to finish...I was still working on it while I was also trying to get ready to go to church! But it is (almost) completely finished...


I need to sew around the handles a little bit more, but I really like the way it looks...however, there are some bad spots on it. I was in a hurry, I broke three needles (on the handle loops) and I'm still learning about quilting and binding! I used Madeira by Blackbird Designs (Moda) for the printed material and cream flannel for the flaps. I'm hoping to post it to Moda Bake Shops April Monthly Contest in the next few days.

But because the casserole carrier took so long, I wasn't able to get to my FMQ Challenge till after our first Revival meeting at church. It was a great start to a week of meetings. I'll share a little of what I learned after I show my FMQ stuff for day 2.

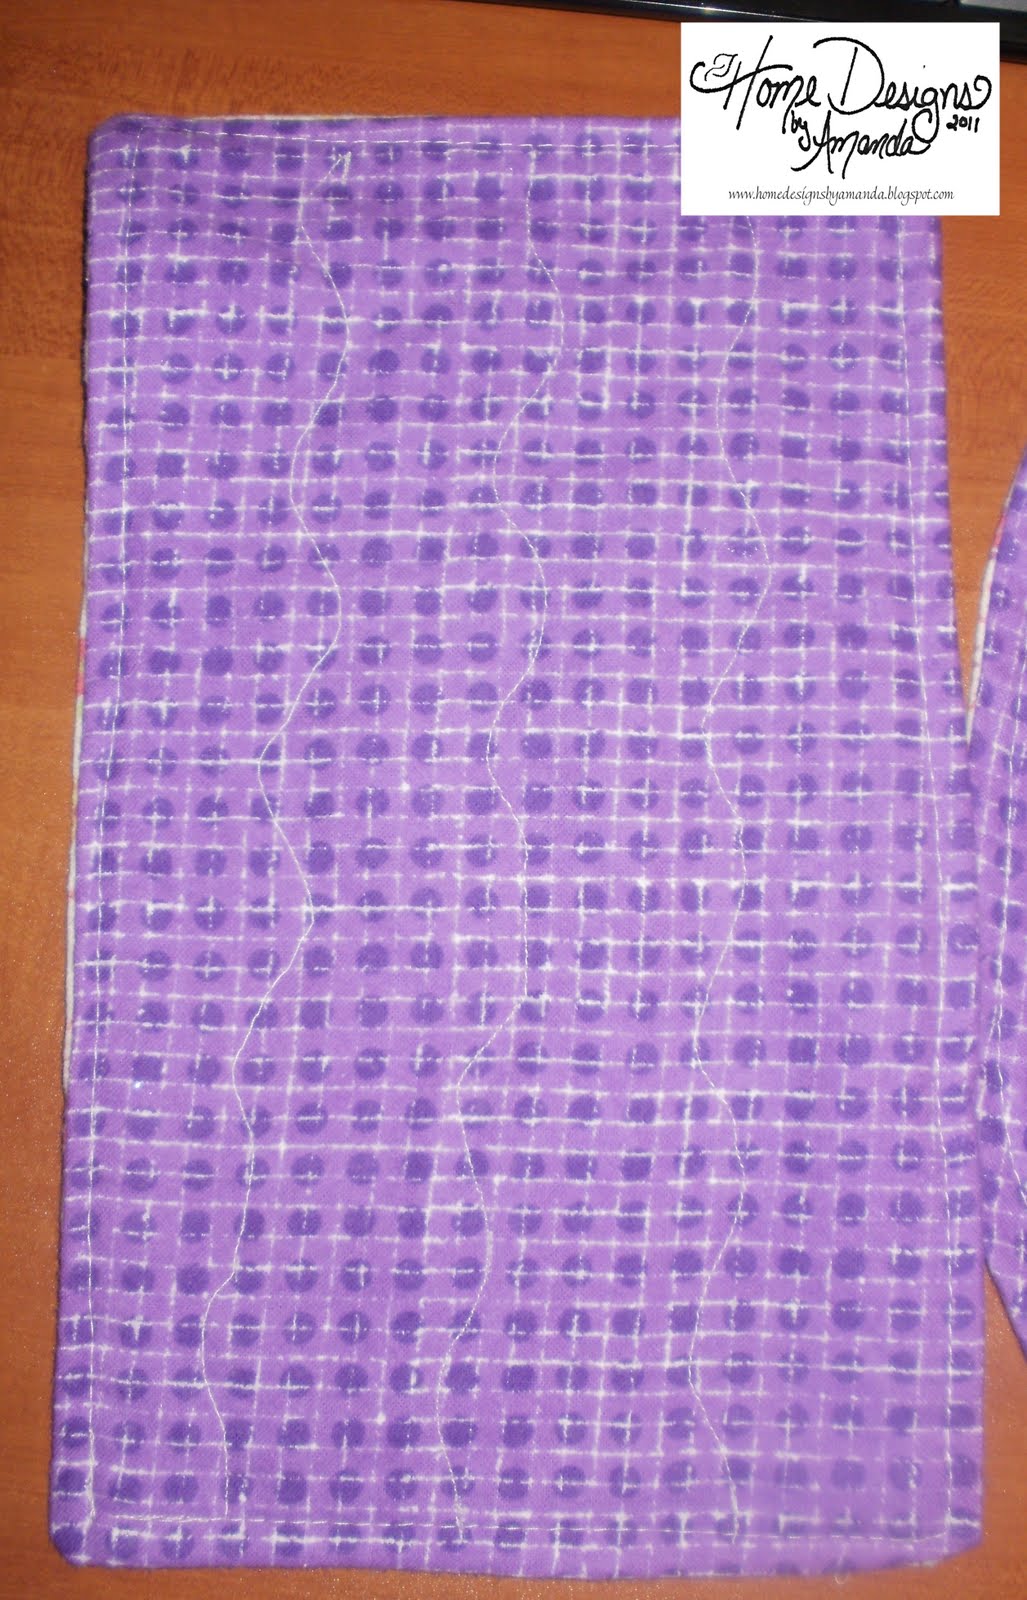
I made Amber another bib and a matching burp rag. The fronts are cream floral with a purple back. The FMQ seamed allot easier tonight, however, I was messing around a little with the settings on my sewing machine to see which I liked better. The one I liked the best was when I forgot to but the foot lever down...but that caused issues with the stitching on the backs...which you can see in the photos.


So I think I've decided on a setting of 4 for stitch length and the tension on my thread. We'll see if I stick to this as the challenge progresses.

Before I started stitching on the bib and rag, I did a small sample that ended up with a flower on it.

The picture is a little blurry, so I hope you can see it.

The Easter baskets are filled and Liz's is ready to be hid...I don't think Amber will care if hers is not hid! The baskets are reused from previous givings... Yeah, I'm a regifter!


Tonight (Saturday) began our Revival services with Evangelist Mark Kerlin...
The text was 1 Corinthians 15:10 and the thought that stuck with me is "It's by God's grace that we are what we are, but its by God's grace we could be so much more."

The 15th chapter of 1 Corinthians begins by talking about the resurrection of Jesus Christ and is very good, please read it some time soon, but for now I'll leave you with this excerpt from it...

But by the grace of God I am what I am;
and his grace which was bestowed upon me
 was not in vain;
but I laboured more abundantly than they all:
yet not I, but the grace of God which was with me.
Therefore, whether it were I or they,
so we preached, and so ye believed.
1 Corinthians 15:10-11

Have a blessed Easter...reflecting on the Resurrection of the Lord!
Amanda